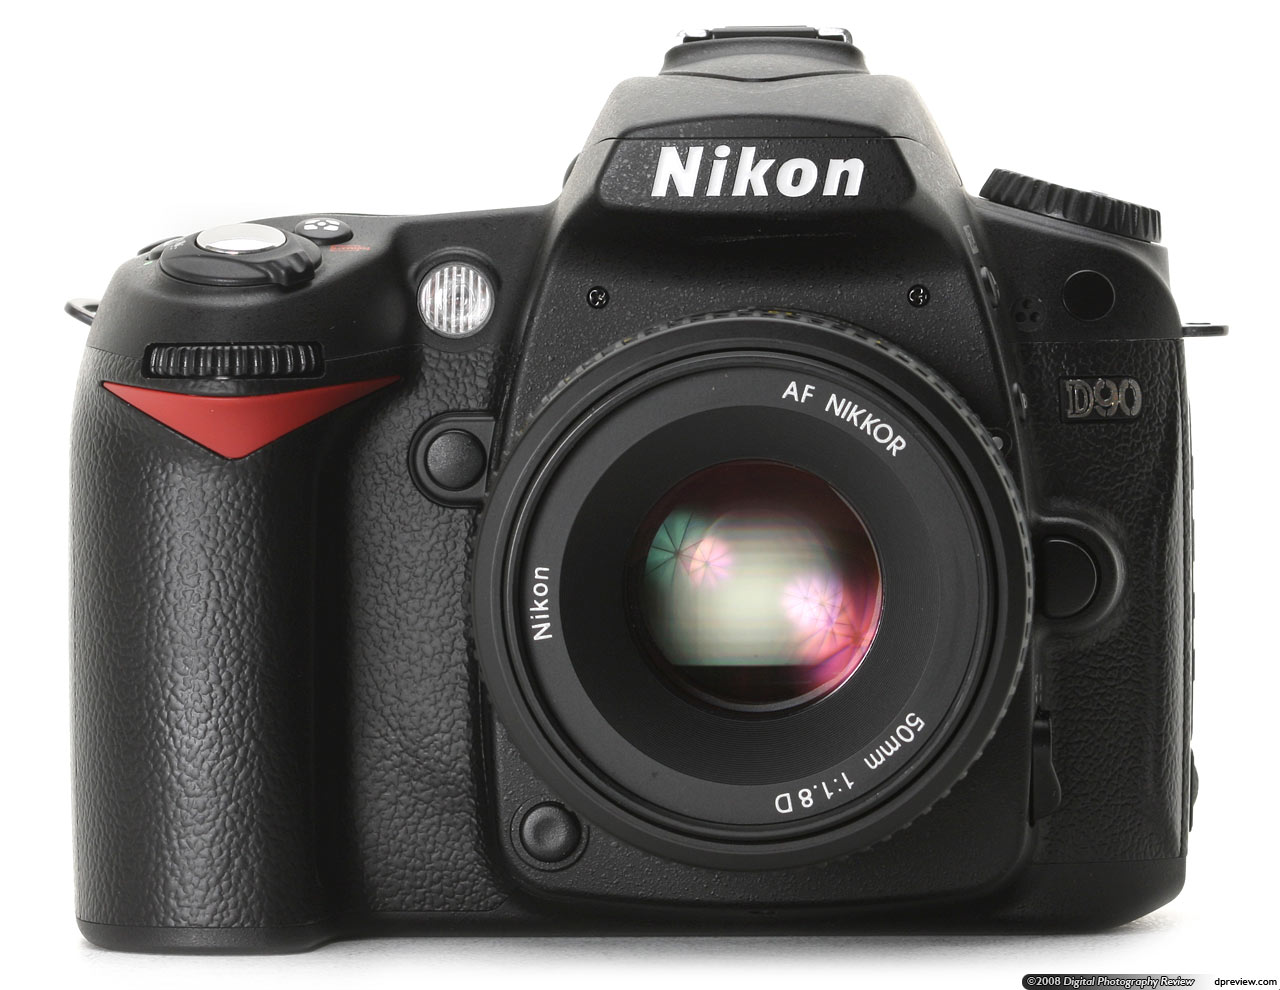
Category: DSLR Cameras

  • *UPDATED* Micro-Manager Tethered to a Nikon Digital SLR

    ***UPDATE 3/3/2014***

    After a few requests for a report on x64 capability using this tethering technique, I tried installing the NK Remote software on a rather fresh copy of Windows 7×64 – it did not communicate with the camera at all. On the other hand, the open source application “DigiCamControl“, worked perfectly. Now, as far as micro-manager goes, there isn’t a connection from DigiCamControl to micro-manager. So – short term solution is to run the proposed setup below on an x32 system – if anyone gets x64 working please post here!!! -Austin

    So I had a customer interested in a macro application for scanning. In some cases, applications like these don’t require a telecentric optical system such as the AZ-100, nor do they fit into a typical stereo microscope application. So, what to do? Well, when your object for imaging is too large for a microscope, one option may be a macro lens on a digital camera. Something like this:

    Copy stand for SLR

    This type of system will allow for a stable focusing and zoom setup, but is limited in magnification power and light control. In some cases though, this is the way to go.

    The next problem is that of focal and positional control. No microscopy device control software available, such as elements or metamorph, supports non-scientific grade cameras. So, how do we position a specimen under this camera in an automated fashion? Well, it turns out micro-manager has a plugin available for such work, and it’s available in the nightly builds here .

    What you end up with is a camera that can be controlled from a laptop, along with a stage, z motor and other automated imaging hardware. Here’s an example of my setup running on a windows 7 x64 laptop and a D80.

    D80 and Win7 x64

    Requirements

    This setup requires the following items:

    1. Suitable camera and lens (see below)

    2. Copystand for camera.

    3. Computer for control.

    4. External power supply for camera or a battery extension (more for ease of use but I consider it a requirement).

    5. USB Cable to camera.

    6. Control Software for interfacing to uManager. This is pay-for software, found here. The software currently ranges from $90-180.

    7. A right angle view finder isn’t required, if you don’t mind a stiff neck!

    Setup:

    So, follow the instructions found here for setup. My summary of setup, which took a whopping 5 minutes (this is amazingly quick for open source software!) went as follows:

    1. Download Breeze Systems trial for NKRemote & Install.

    2. Download nightly uManager build & Install.

    3. Set camera to PTP mode.

    4. Run NKRemote and snap image to confirm communication with camera.

    5. Run uManager. Edit hardware seup using the “Setup hardware” tool and removed the demo camera, and added the NikonDSLR.

    6. started snapping images! Here is an example of running in uManager (click on the picture for a higher res version):

    Nikon D-80 acquiring images in uManager

    What cameras are supported:

    All of the basic DSLR models from Nikon are included with the NKRemote software. Tethercam is the driver used for the uManager side, and it states an “incomplete list” of cameras as follows:

    Nikon D7000, Nikon D90, Nikon D5000, Nikon D300, Nikon D300s, Nikon D700, Nikon D3X, Nikon D3s, Nikon D3, Nikon D200, Nikon D80.

    Lenses to Use:

    Some lenses that work as portrait lenses like a Nikon 50mm will work adequately as macro lenses. On the other hand, it’s recommended to shell out the extra cash for a well-made macro lens, such as this one. The nice thing about working with commonly available photo gear is that in many cases you can even rent lenses to see what works best for the job at hand.

    This was a fun and quick test and I am excited to see how this capability is used for macro work in the future!

    -Austin

  • SLR cameras for Microscopy

    Camera on Leica Microscope

    Most of the time, I work with people who need measurable and accurate (quantitative) results from the images they obtain. While this constitutes the bulk of my daily job, there is a much larger group of people using cameras on microscopes for photomicrography. Or put simply – taking a picture of what you see through the scope for the

    purposes of presentation or archiving.These people live in an a space completely underserved by the microscope imaging community. Here’s why:

    • C-Mount cameras are usually cooled (which isn’t needed for basic trnasmitted image capture)
    • C-Mount cameras are usually specified to be linear and quantitative (again unneeded for basic image capture)
    • The software used by these cameras has more features than are needed to snap an image
    • The production rates for these cameras and cost of scale equal an unjustified high price for basic image capture.

    Now when I use the term C-Mount camera I’m referring to cameras that are dedicated for microscopy use, which have no glass lens assembly in front of them, and connect to the scope using an ISO C-Mmount.

    So what options are available besides the traditional camera? Enter the venerable SLR. Before the digital camera era, everyone had a film body camera on their microscope if they were acquiring images. This system could produce beautiful images, but required all the usual steps in film photography. There are a wide array of mounts available for cameras such as these, as most miroscope optical systems were designed to work with SLR cameras at some level.

    Today there are a wide array of DSLR (Digital Single Lens Reflex) cameras available. These cameras use similar (but not exactly the same) optical setups that will, in most cases, work quite well on a microscope. Why is this?

    • In general, we don’t want glass to be in front of the sensor. DSLR cameras, like C mount cameras, use a lens connection, allowing for the lens to be removed, and the camera to be placed on the microscope. So the microscope becomes the “lens”.
    • Modern DSLR cameras like the D90 from Nikon or the 50D from Canon include a “live view” function. This function allows the user to view the live image from either the camera body, or the method I recommend, through remote control software running on a computer.
    • DSLR cameras include incredibly powerful image processors in-camera. This means you won’t ahve to fiddle as much with white balance to get a high quality image that accurately depicts what you see under the scope. Pathologists are famous for seeing these color balance errors as they have the best trained eyes when it comes to minute color change on stained specimens.
    • Unlike film or digital still cameras, newer DSLR cameras can acquire HD live video. Here’s an example from a Nikon camera. One can imagine the use of this for live microscopy recording, all with the same camera…

    httpv://www.youtube.com/watch?v=DPJVfztNMJQ&feature=related

    So why not use any handheld camera? Because the typical lower cost camera will not allow you to remove the lens assembly. This is the primary benefiet of DSLR and C mount systems.

    If you’ve read this far and are interested in using a DSLR for your microscope, you’ll need a short shopping list of components on order to make everything properly work. Here are the components you’ll need:

    1. Camera Body (you don’t have to buy the camera with a lens if this will be a dedicated scope camera)
    2. Camera -> Microscope Mount system.
      1. You can use either a microscope manufacturer’s recommended system like the ones described here (Nikon F Mount options)
      2. Or use a high quality aftermarket adapter from a company like this (Canon and Nikon F Mount coupler)
    3. Control Software for your camera (Nikon uses software that you have to buy separately, canon software is included with the camera).

    Notes on Acquisition:

    Once you have the parts together, you’ll need to set the camera up for the right shooting mode. On most cameras you’ll see an “M” mode. This is preferred for microscope use. M is full manual mode. There is no focus or aperture for the camera to control on the microscope, so those adjustments are not required. The remaining adjustments (exposure time and ISO) can be controlled manually. For low light fluorescent work, use high ISO. For normal transmitted light, use low ISO. You can use the metering system on the camera to determine the exposure time, and all of these settings can be controlled from the computer. Finally, make sure to enable “exposure delay” mode, which will avoid capturing any vibrations introduced into the scope when the shutter drops open!

    As always if you have any questions on this technique you can contact me with questions!

    – Austin

Social Media Auto Publish Powered By : XYZScripts.com