
Most of the time, I work with people who need measurable and accurate (quantitative) results from the images they obtain. While this constitutes the bulk of my daily job, there is a much larger group of people using cameras on microscopes for photomicrography. Or put simply – taking a picture of what you see through the scope for the
purposes of presentation or archiving.These people live in an a space completely underserved by the microscope imaging community. Here’s why:
- C-Mount cameras are usually cooled (which isn’t needed for basic trnasmitted image capture)
- C-Mount cameras are usually specified to be linear and quantitative (again unneeded for basic image capture)
- The software used by these cameras has more features than are needed to snap an image
- The production rates for these cameras and cost of scale equal an unjustified high price for basic image capture.
Now when I use the term C-Mount camera I’m referring to cameras that are dedicated for microscopy use, which have no glass lens assembly in front of them, and connect to the scope using an ISO C-Mmount.
So what options are available besides the traditional camera? Enter the venerable SLR. Before the digital camera era, everyone had a film body camera on their microscope if they were acquiring images. This system could produce beautiful images, but required all the usual steps in film photography. There are a wide array of mounts available for cameras such as these, as most miroscope optical systems were designed to work with SLR cameras at some level.
Today there are a wide array of DSLR (Digital Single Lens Reflex) cameras available. These cameras use similar (but not exactly the same) optical setups that will, in most cases, work quite well on a microscope. Why is this?
- In general, we don’t want glass to be in front of the sensor. DSLR cameras, like C mount cameras, use a lens connection, allowing for the lens to be removed, and the camera to be placed on the microscope. So the microscope becomes the “lens”.
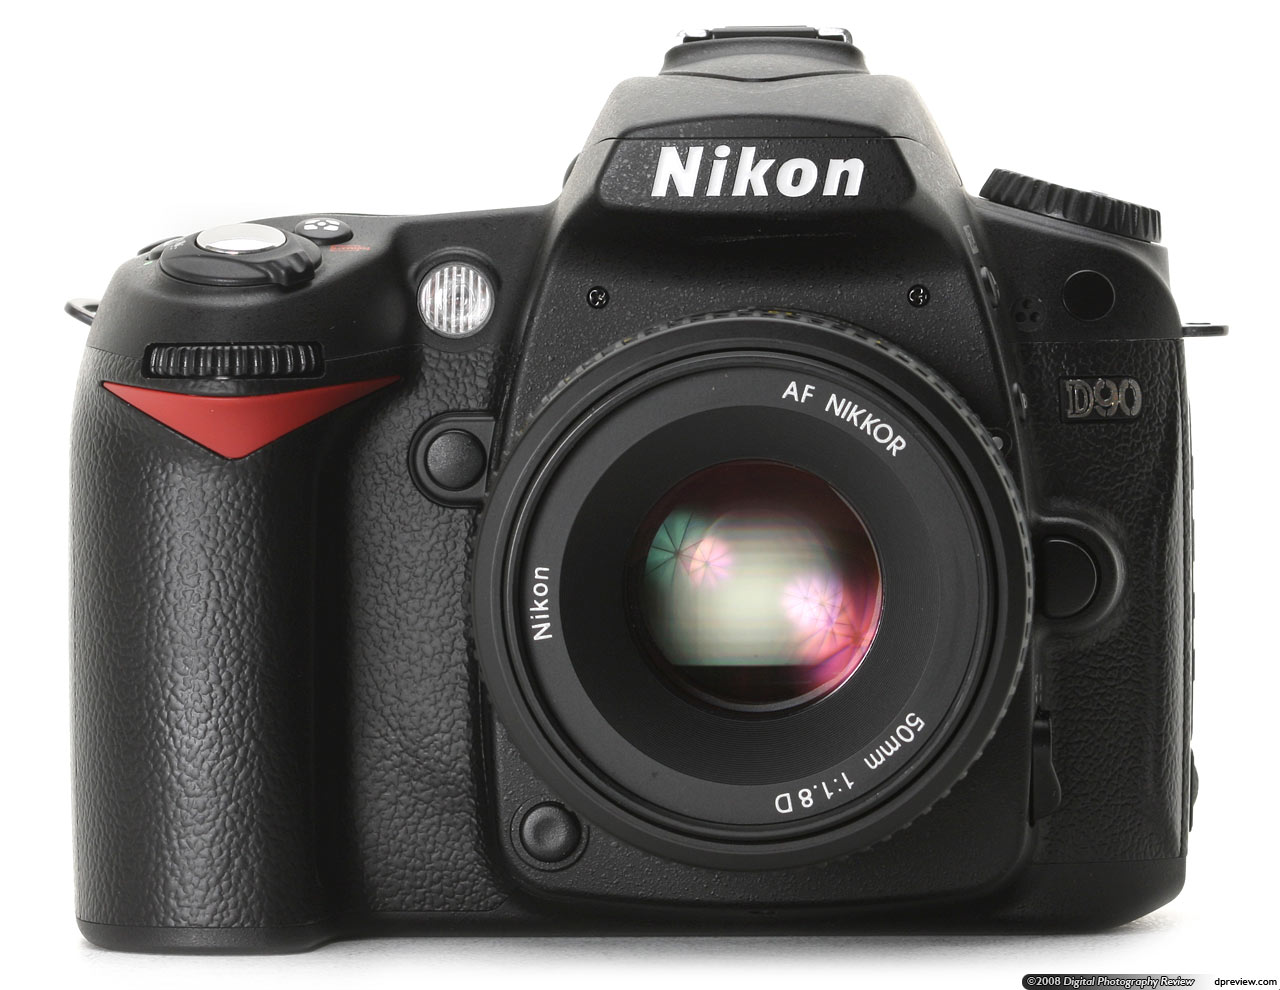
- Modern DSLR cameras like the D90 from Nikon or the 50D from Canon include a “live view” function. This function allows the user to view the live image from either the camera body, or the method I recommend, through remote control software running on a computer.
- DSLR cameras include incredibly powerful image processors in-camera. This means you won’t ahve to fiddle as much with white balance to get a high quality image that accurately depicts what you see under the scope. Pathologists are famous for seeing these color balance errors as they have the best trained eyes when it comes to minute color change on stained specimens.
- Unlike film or digital still cameras, newer DSLR cameras can acquire HD live video. Here’s an example from a Nikon camera. One can imagine the use of this for live microscopy recording, all with the same camera…
httpv://www.youtube.com/watch?v=DPJVfztNMJQ&feature=related
So why not use any handheld camera? Because the typical lower cost camera will not allow you to remove the lens assembly. This is the primary benefiet of DSLR and C mount systems.
If you’ve read this far and are interested in using a DSLR for your microscope, you’ll need a short shopping list of components on order to make everything properly work. Here are the components you’ll need:
- Camera Body (you don’t have to buy the camera with a lens if this will be a dedicated scope camera)
- Camera -> Microscope Mount system.
- You can use either a microscope manufacturer’s recommended system like the ones described here (Nikon F Mount options)
- Or use a high quality aftermarket adapter from a company like this (Canon and Nikon F Mount coupler)
- Control Software for your camera (Nikon uses software that you have to buy separately, canon software is included with the camera).
Notes on Acquisition:
Once you have the parts together, you’ll need to set the camera up for the right shooting mode. On most cameras you’ll see an “M” mode. This is preferred for microscope use. M is full manual mode. There is no focus or aperture for the camera to control on the microscope, so those adjustments are not required. The remaining adjustments (exposure time and ISO) can be controlled manually. For low light fluorescent work, use high ISO. For normal transmitted light, use low ISO. You can use the metering system on the camera to determine the exposure time, and all of these settings can be controlled from the computer. Finally, make sure to enable “exposure delay” mode, which will avoid capturing any vibrations introduced into the scope when the shutter drops open!
As always if you have any questions on this technique you can contact me with questions!
– Austin